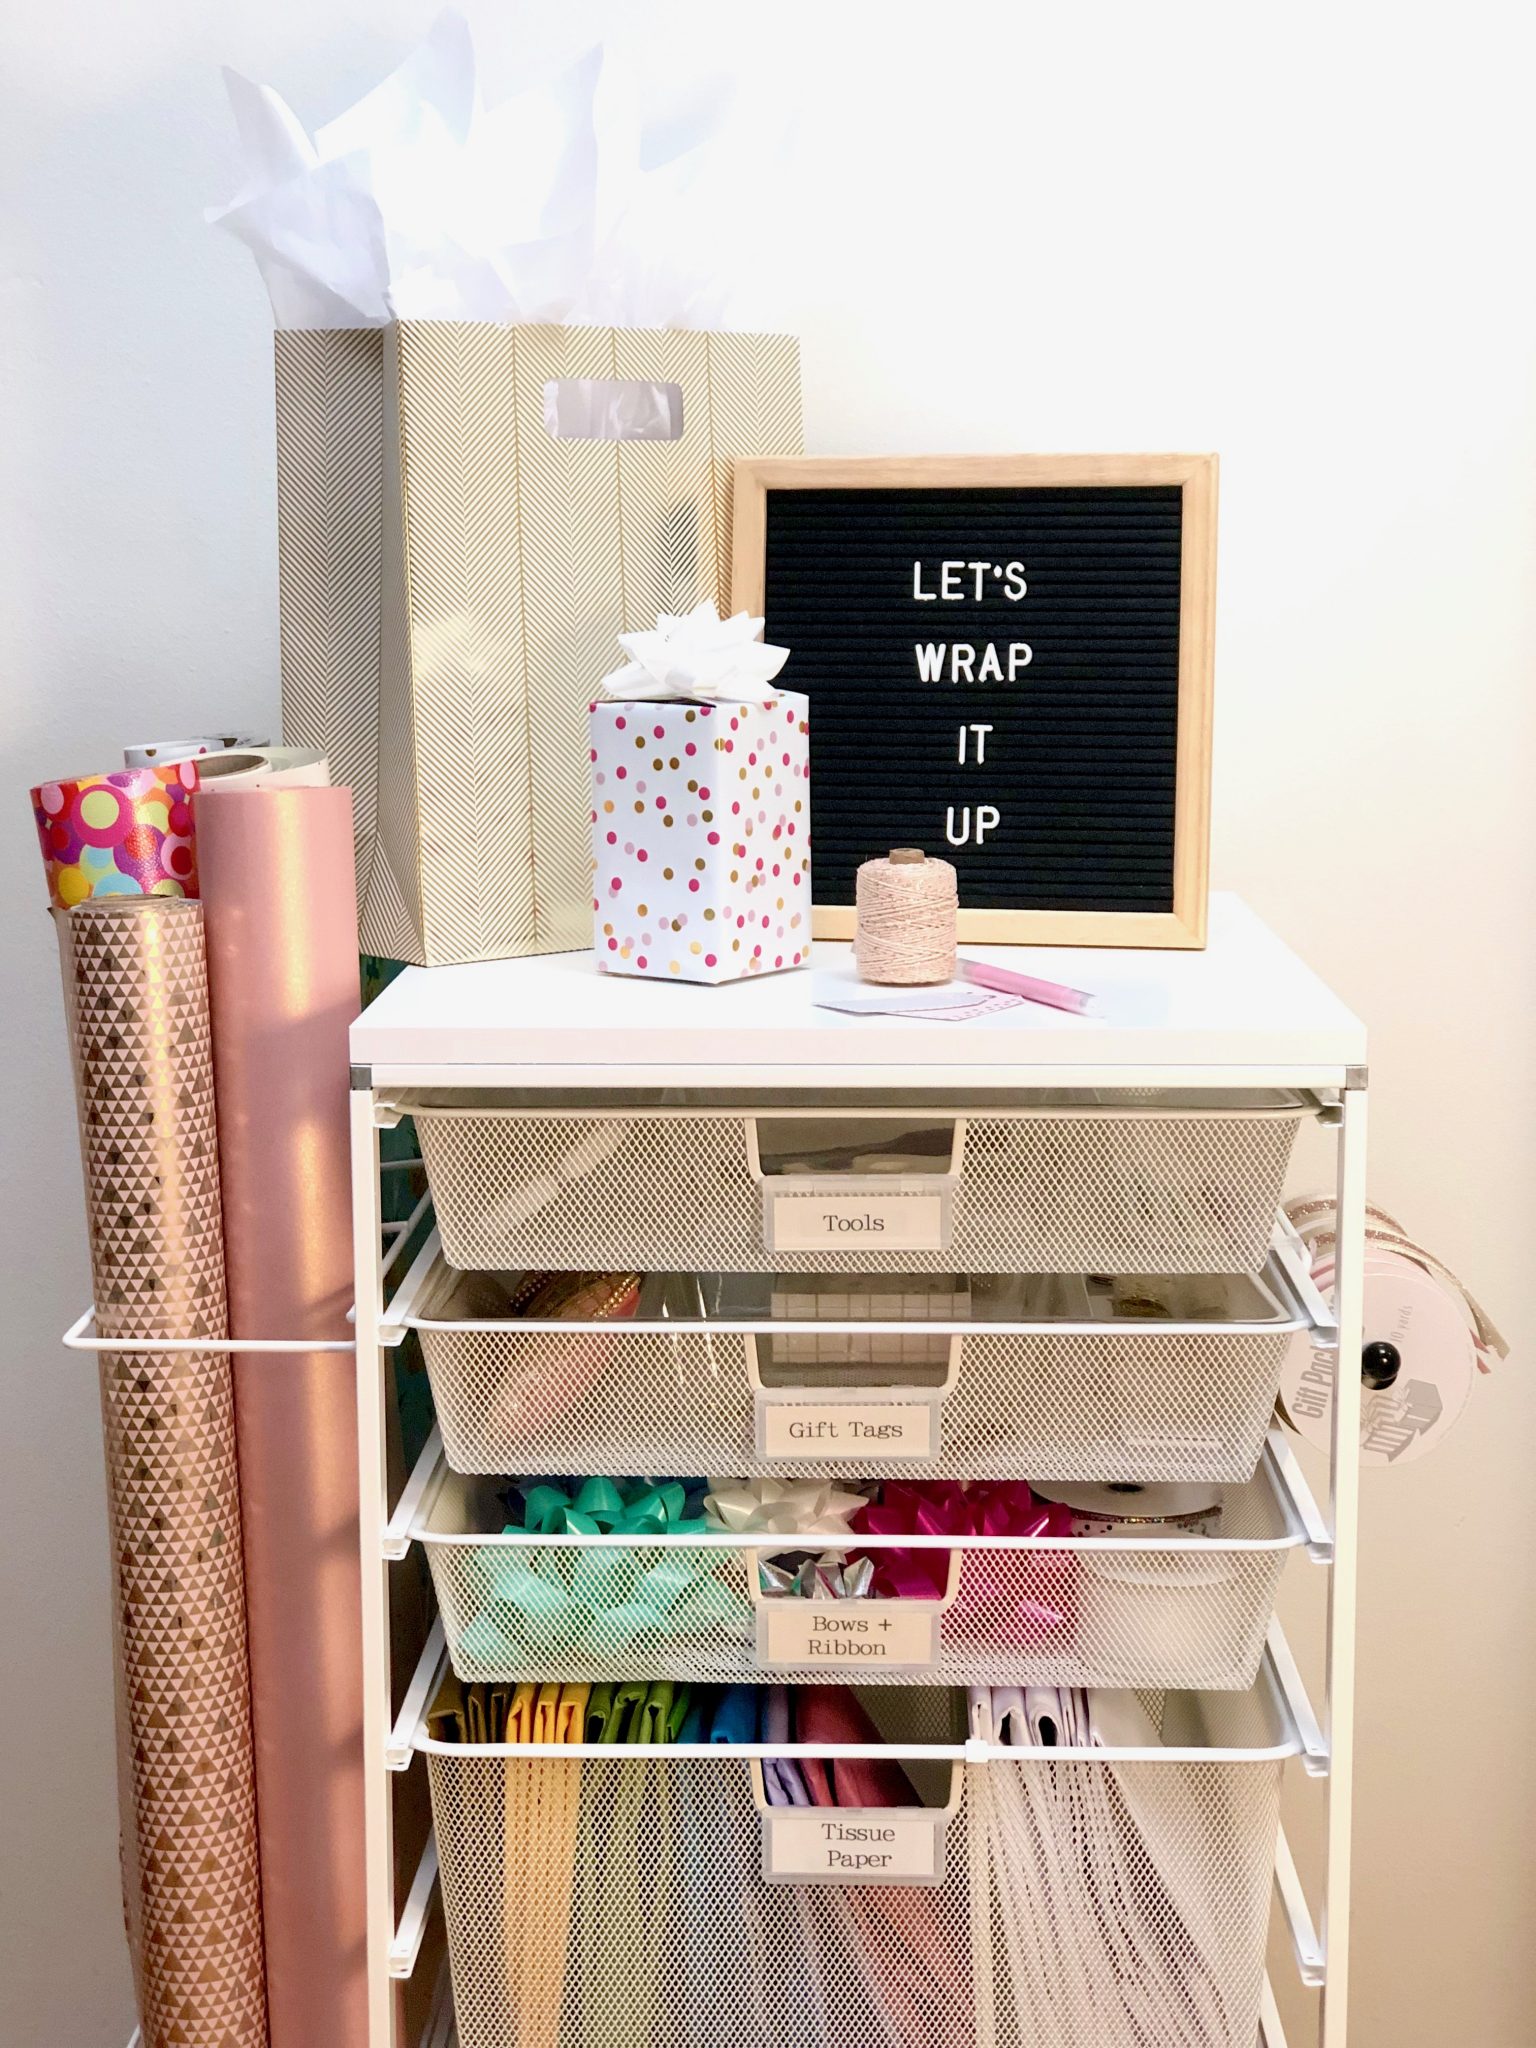
We love to get ahead of the holiday craze — whether that means food prepping, early gift shopping or refreshing one of our most utilized holiday storage areas. Anything that makes this season feel even A LITTLE bit easier is something that we’re A LOT into!
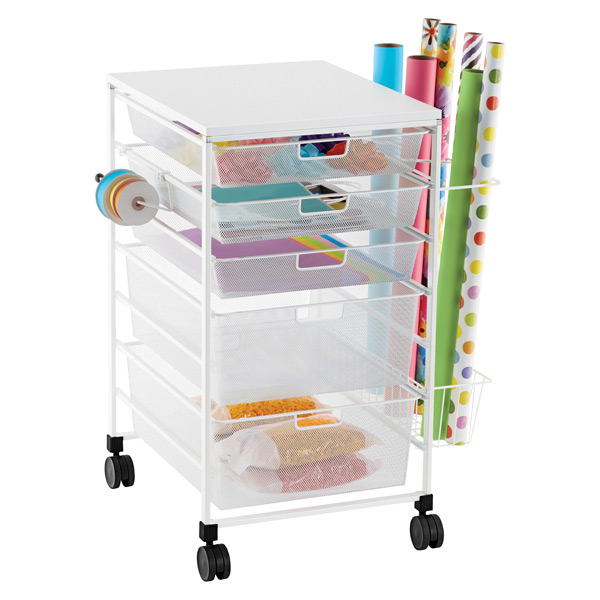
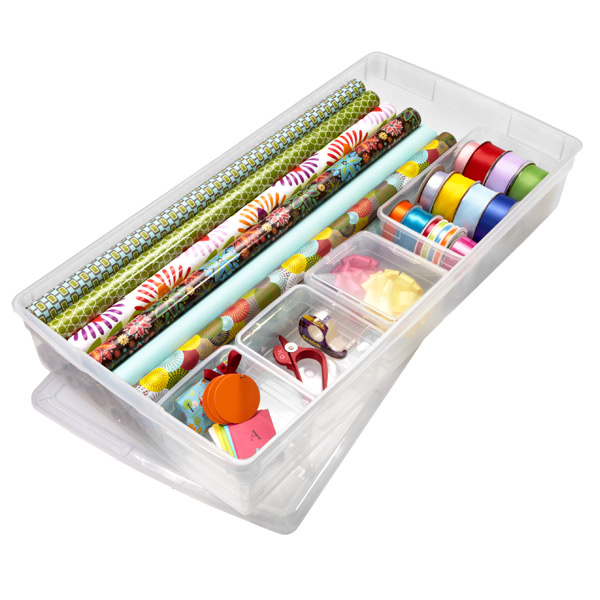
There are numerous ways to organize gift wrapping supplies and many great products to choose from (remember our gift wrap tote bag?) Thanks to our friends from The Container Store, we recently had the pleasure of tackling a gift wrapping organizational project with a new favorite, the Elfa Gift Wrap Cart.
We love it for so many reasons: it’s sleek, simple, easy to assemble, provides easy access to all of the things and as a totally added bonus — it’s mobile! (No more lugging rolls of paper and ribbon around the house!)
If your gift wrap could use a little love just in time for the holiday season, read on for some tips and an exciting transformation below…
This post was created in partnership with The Container Store and may contain affiliate links. For more information, please read our disclosure agreement.
And if you want to WATCH some gift wrapping magic, be sure to watch our tutorial here! We’re showing you how to wrap the (practically) perfect gift. And what’s more? We’re sharing some game-changing methods for using those just-too-small paper scraps and hacks for wrapping even the most awkwardly-shaped gifts.
1. EDIT EVERYTHING
When you’re organizing absolutely anything, the very first step is always to edit your belongings.
In the case of your gift wrap collection, you may ask yourself: are there any gift bags or rolls of wrapping paper that you’ve been holding onto but never choosing? Are you storing pieces of tissue paper that’s been used and reused (and then used yet again?)
We happily re-homed some of the items from our collection to a place where we knew they’d get more love and appreciation — our kids’ craft station!
2. SORT + CATEGORIZE
Next it’s time to sort like items together.
Creating categories before placing items will help determine WHERE they should be stored and HOW MUCH space you’ll need for them.
Do you need a space for gift tags and pens? Do have so much tissue paper that you’ll require two drawers to store it?
After our editing, it was easy to break our gift wrap collection down into the following categories:
- Tools
- Gift Tags
- Bows + Ribbons
- Tissue Paper
- Gift Bags
PLACE + STORE VERTICALLY
We use this tip all over the house, because we know that we all tend to USE what we can SEE — and also because it’s such a great space-saving technique!
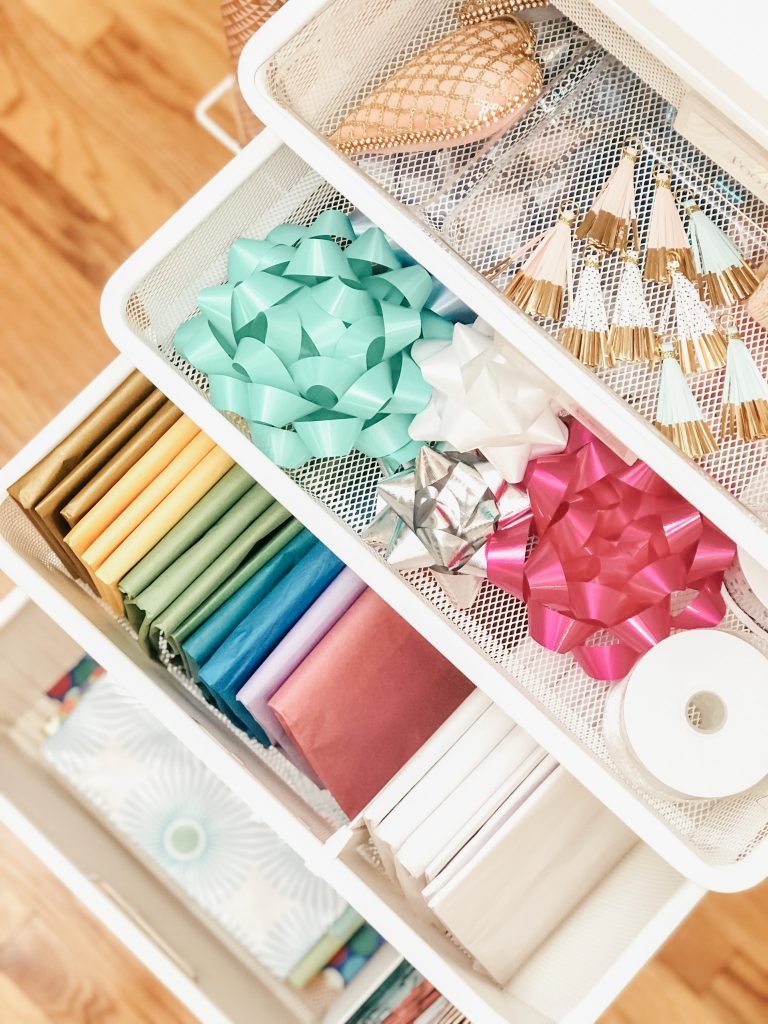
We chose to store our tissue paper vertically because (a) we want to see all of those beautiful colors, and (b) because this storage method helps us get a sense of how much of each color we have on hand, avoiding a tendency to dig through a stack (and make a mess!)
Ditto for the gift bags! Unfortunately, a few of our bags were too large to store vertically, but the majority of the smaller bags could be stored in a tidy row for optimal VISIBILITY and ACCESSIBILITY.
We especially love how this gift wrap cart has deep drawers, allowing for the division of these various items. And the side of cart is set up to perfectly store gift wrap rolls vertically — be still our hearts!
Whether you’re dividing items by color, size or type (the options are endless), this cart can work for you!
4. LABEL
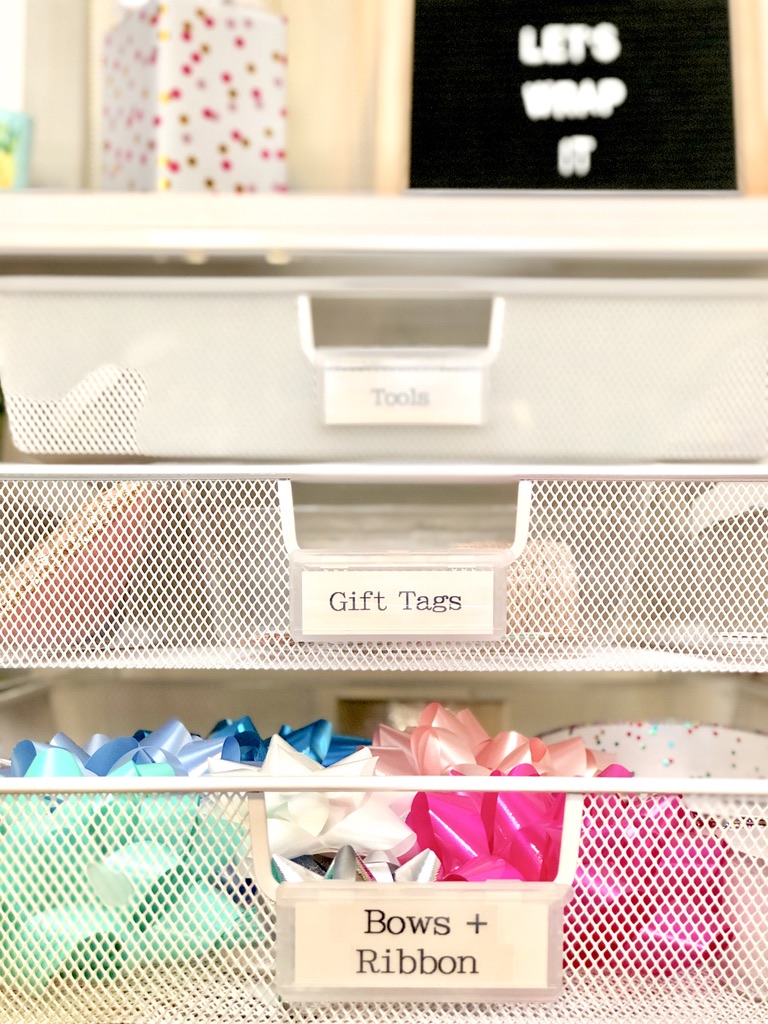
We always love to label!
Not only are labels visually appealing to us — they also hold us ACCOUNTABLE. We’re much more likely to maintain our categories if we have a visual reminder of where items belong and how much space we have, should we be in the market for some additional supplies (because sometimes we do run low; and other times, we simply can’t resist!)
And VOILA… a little gift wrap transformation, just in time for the most wonderful time of the year!
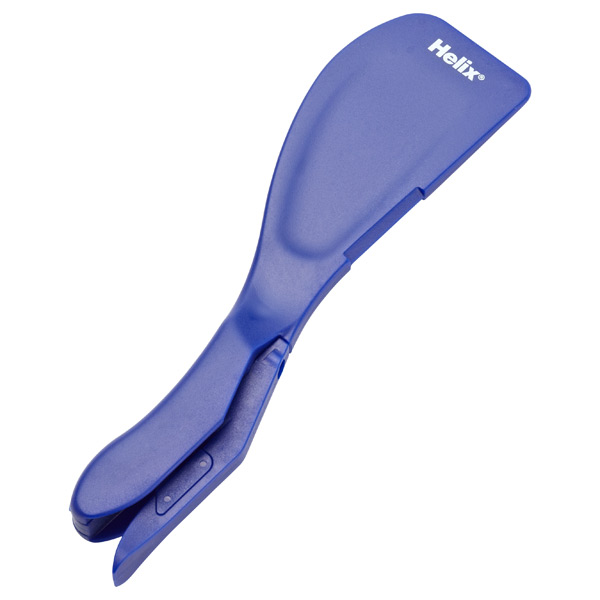
Plus, our favorite gift wrap tools below!
For more inspiration, check out:

Leave a Reply